
Hydraulic hoses only succeed by giving some warning signs. Keeping up with preventative maintenance and inspections can help you avoid a costly breakdown.
Inspecting hydraulic hoses is a straightforward process requiring little more than essential hand tools and common sense. Thoroughly assessing the damage will allow you to identify the type of repair needed.
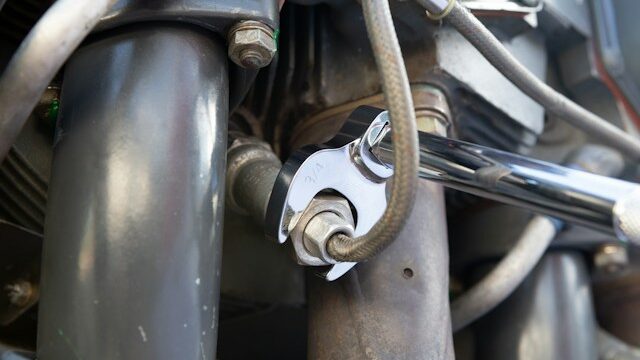
Removing the Damaged Hose
An onsite hydraulic mobile hose repair Charlotte, NC, the vehicle allows forestry, construction, mining, civil, demolition, and quarrying crews to reduce machine downtime. This keeps work running smoothly and keeps workers safe.
Over time, a hose with tight bends or kinks can develop internal damage to the wire inside the hose. This can go unnoticed until the hose fails unexpectedly and can be hazardous.
Before moving on with the repair, ensure the damaged hose is completely removed from the fittings and the machine. Even the smallest amount of dirt, dust, or debris can contaminate the hose and cause an even more extensive repair job in the future. It is also essential to ensure that the hose is sealed correctly. This can be achieved by circulating hydraulic fluid at low pressure through the new hose.
Tools
When you’re replacing a hydraulic hose, you need the right tools. You also need to follow proper safety protocols. This includes checking, testing, and analyzing those data to confirm their life span and durability.
First, shut down the hydraulic system and relieve any residual pressure. Then, use a hose cutter to make clean, square cuts at the ends of the hose. You must do this carefully, as a poorly cut hose may develop leaks or burst under pressure.
The following essential tool is a hose crimper. This specialized tool applies precise force to fasten the hose fitting to the hose securely. It must be correctly sized for the application and adequately crimped to create a leak-proof seal. The right fit is critical to ensuring system efficiency and performance.
Inspection
The first step in the hydraulic hose repair process involves a thorough inspection. This should include inspecting the entire hose assembly for any apparent signs of a problem, such as leaks, cracks, brittleness, oil permeation, or color changes. It also includes checking that the hoses are not twisted or binding, even if minor, as this can decrease their lifespan significantly.
It is worth keeping a record of the inspection results and when each was carried out, as this will help ensure that the same issues are repeatedly noticed. It is also a good idea to follow a preventive maintenance schedule, which can be calendar or usage-based. A preventive maintenance system will allow businesses to minimize machine downtime, reducing their overall operating costs.
Reinstalling the Hose
It’s vital to understand the construction and functionality of hydraulic hoses. These flexible tubes carry liquid under high pressure and are typically composed of an inner tube, reinforcement layers, and an outer cover. The hose must be compatible with the conveyed fluid to avoid damage, leaks, and safety hazards.
Reinstalling the hose should be done carefully to ensure a secure seal. Even a tiny gap or imperfection in the seal can cause significant problems for the hydraulic system. A professional technician will know how to tighten and route the seal correctly so your equipment can function optimally.
Hydraulic hoses are a critical part of any machinery, so keeping them in good condition is essential. This prevents leaking and other issues that can lead to costly repairs, downtime, and lost productivity.
Final Thoughts
Hydraulic hoses are typically built with an inner tube through which hydraulic fluid flows, a wire or mesh reinforcement layer, and an outer covering. This construction and the specific applications they are used in creating unique stresses that can damage hoses.
Some damage is apparent, such as cracks or fraying. However, some damage can be more challenging to spot, especially in the areas near fittings and couplings. An incorrect hose selection or routing could cause this damage, leading to leaks and other problems.
Once the damaged hose has been removed and the replacement is installed, it is essential to perform a low-pressure test to make sure the new hose is secure. These steps can help prevent costly repairs in the future and ensure that the system is working as it should be.